![Haley [Badenhop] Leeper Art + Murals](http://images.squarespace-cdn.com/content/v1/5e0fae87f806fb45852bf868/816f25c5-e94c-4720-8512-41b0bb640871/Haley-BADENHOP-leeper-Logo+3.png?format=1500w)
MURAL TIP #6 | Paint a Mural without a Projector
Using a projector is definitely one of the easiest ways to get your artwork onto the wall, but there are a number of problems that can occur if a projector is your only option. Here are just some of the potential downfalls:
It’s too bright out to see the projection
The space you’re in is too small to project
The wall is too big that a projection isn’t working out well
The wall is curved and the projection is distorted
Your computer crapped out on you or the electricity just went out in the city!
So what in the world do you do when Plan A fails?
Always have an alternate plan. Honestly, no matter what my “hopefully” transfer plan is, I always have a backup idea. Luckily, there are lots to choose from!
BTW, if you want all of your mural q’s answered in a cohesive course, I have a full painting murals course available for you to start today HERE.
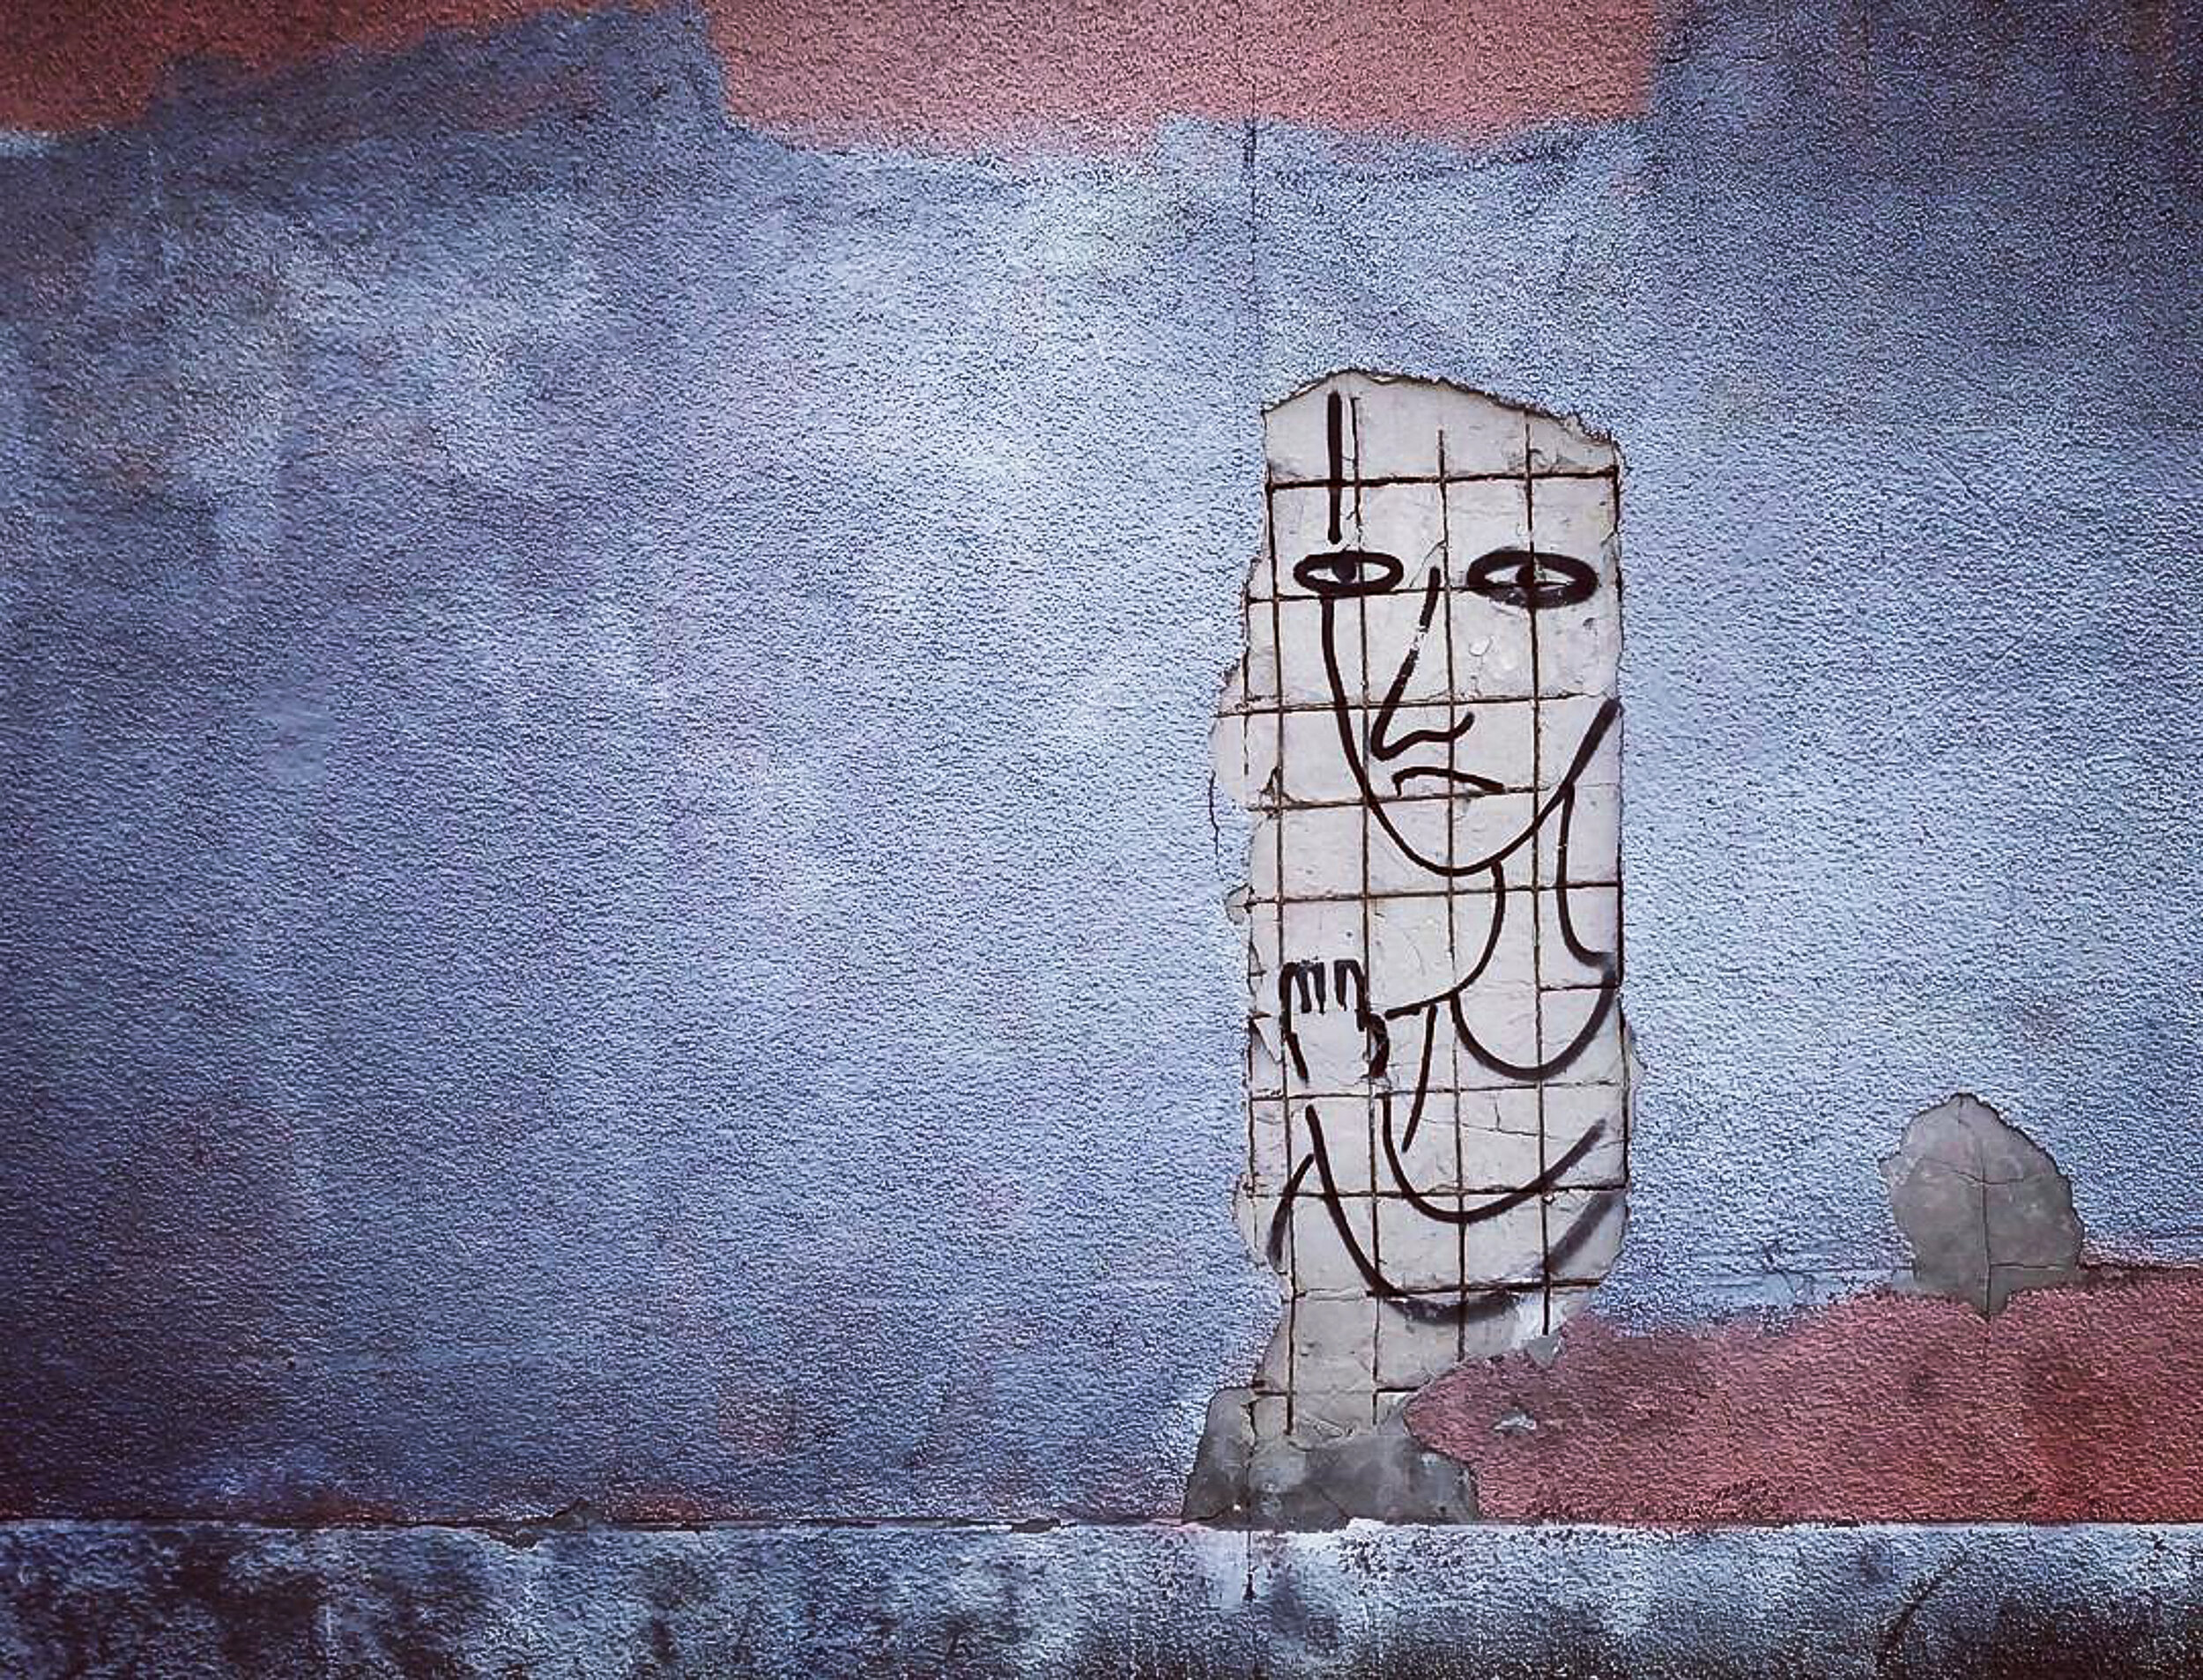
Regular Gridding
A grid is my favorite back-up plan. Basically you’re drawing a big grid on your wall that matches a grid you have overtop of your paper or digital design. Then you freehand your design accordingly onto your wall. For me, this is a never-fail method that I love.
Doodle Grid
Here’s an interesting one. For this, you have your design completed on your iPad, arrive at your wall and chalk random doodles on the wall, and take a photo of your doodles. Next, you’ll put that photo onto your iPad and Photoshop your design over the wall at a lighter opacity, then start sketching/painting on the wall according to where your design hits the squiggles on your iPad.
Sound confusing? It truly isn’t. I used it for a recent mural I did in the Dominican Republic and you can watch the YouTube vlog I made about it HERE or for a mural I did for Jackson Hole Ski Resort here: youtu.be/TLZslXLXhao?si=xc6pFjZsyOFuOtWq

Transfer Paper
For this method, it takes a bit of prep because you need to get a full-sized mural printed of your design from a print-shop. Then you’ll attach the transfer paper to the back, hang it perfectly on the wall, and trace your design.
Pounce Patterns
For the pounce pattern, you’ll also get a printout of your full-size design, but instead of attaching transfer paper, you’ll use a specific pounce tool to trace your design and put tons of tiny holes along the paths. Then you’ll hang it up and use a pounce pad (like a sponge) to dab at it so that the charcoal inside the pad goes onto your wall, thus creating the outline of your design. This method is most often used by sign painters.
Stencils
We’re all familiar with good ol’ stencils right?! Sometimes it’s easy to forget that the simplest tools can be used to create amazing results. Whether you create your own or buy stencils to use, they can be a super fun tool for creating murals!

There are even more ways than this if you get really into it, like totally free handing or even making your own homemade project! So which one will you try first? I made a list of all my supplies HERE. Click that link to easy grab my utensils, paint, and all the other goods.
PS. I go in depth on how to transfer your designs to the wall in my “Paint Murals Like A Pro” Course and I’d love to see you inside with all the other Creatives! It’s the best deal for someone who wants to become a muralist and get paid for it as soon as possible! The entire course is available for you to start today right HERE.